|
 |
|
|
|
|
|
|
|
|
| | 2.5” SATA Hard Drive | | | 1. | Attach hard drive to the unit. | | 2. | For USB interface:
- For desktops, please use the Y-USB cable and connect both (2) USB into the port located at the rear of your PC. Connect the other end of the USB cable to the unit.
- For notebooks, please use the Y-USB cable and connect both (2) USB into the port of your notebook. Connect the other end of the USB to the unit.
- Please refrain from using external USB hubs or other case USB ports (for PCs).
| | Y-USB Cable: | | 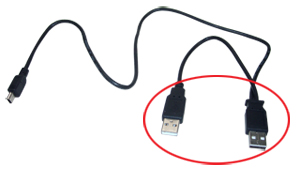 | | 3. | For eSATA Interface
- For desktops, please use the Y-USB cable and connect 1 USB into the port located at the rear of your PC; connect the eSATA cable to the unit.
- For notebooks, please use the Y-USB cable and connect 1 USB into the port of your notebook. Connect the eSATA cable to the unit.
- Please refrain from using external USB hubs or other USB ports (for PCs).
- Please also make sure you are using the main USB cable as shown below.
| | Y-USB Cable: | | 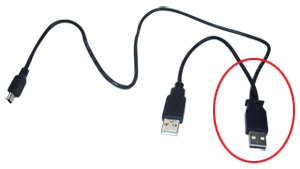 | | eSATA Cable: | | 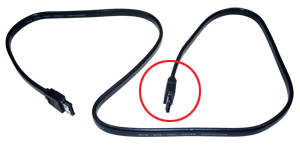 | | 4. | Windows will detect and pre-install drivers automatically. | | 5. | Make sure hard drive is partitioned / formatted through disk management (for new drives). | | 6. | Older hard drives, please verify under disk management that your drive is partitioned / formatted. You may need to assign a new drive letter manually. |
| | | Note: Notebook or desktop units from proprietary companies like Compaq, Dell, HP, etc. may have security features that blocks detection of the drive when installed to other units or enclosures. |
|
|
| |
|

|
|
about us | contact us | site map

|
|
© 2012 CoolMax Technology Inc. All Rights Reserved. |
|
 |